
Documentation-based guide. Instructions are checked against official sources. We have not yet benchmarked either video-generation route.
Choose your method
A character swap uses two inputs: a clip that supplies the performance, and an image that supplies the replacement character. It changes the character’s appearance while aiming to keep the motion and setting.
Try it first Free
Viggle’s hosted starter is the easiest route to try without installing models. Uploading sends your files to its service.
Follow the browser steps →Run it locally Free software
ComfyUI + Wan Animate gives you the graph and settings. It needs suitable hardware, model downloads and more setup.
Follow the local steps →Use paid hosting
Pay for extra capacity, speed or a hosted GPU when those solve a specific limit. Check the current plan before buying.
Compare paid routes →Supplies the motion and original scene.
Supplies the replacement appearance.
Viggle, or Wan Animate in Mix mode.
Original first. Matching replacement frames afterwards.
Prepare your inputs

Start with a short clip containing one clearly visible performer. For a first attempt, use roughly five seconds, a steady camera and no scene cuts. This is a practical starting point, not a model limit. Avoid hands or objects hiding the performer for much of the shot.
Choose a clear character image showing the body you want to use. Keep its pose simple, with visible arms and legs. Viggle recommends a full-body reference and accepts JPG, PNG and WEBP. A transparent PNG can help with illustrated characters. Viggle's input guidance
Use footage you recorded, an original character, and music you have permission to use. A screenshot from someone else's post is a reference for the effect; it does not provide permission to reuse their clip.
Keep a copy of the original video. You will need it again if the person changes into the character part-way through the shot.
Try Viggle in your browser
Before uploading private footage: Viggle's general animation terms treat uploads as non-confidential and allow training use of free-user content. They exclude training on paid-user content without prior consent. Keep any watermark on a free export. Viggle terms, updated 26 August 2026
This is the simplest route if you want to try the effect without downloading models.
- Open Viggle's character swap. Create or sign into your account.
- On the Mix page, use Add Motion to upload your movement video, or choose a template you are entitled to use.
- Use Add Image to upload your replacement character.
- Choose the current free option and use MIX once your inputs are ready. Add Motion, Add Image and MIX were observed on the public page on 11 October 2026; signed-in generation and export have not been exercised.
- Download the result. Watch it once at normal speed and once slowly: inspect hands, feet, face and any objects crossing the performer.
Viggle currently advertises five free videos per day, one generation at a time, a maximum one-minute video upload and seven-day storage on Free. Paid plans add watermark-free exports, more simultaneous generations and longer uploads. Its credit cost varies by feature/model, so a credit allowance is not a guaranteed number of videos. Check the selected billing period and checkout amount on the current pricing page before subscribing.
Use Move / Add motion to character when you want the reference character animated from the performance rather than inserted into the original scene. Viggle's description of Mix and Move
Use Wan Animate in ComfyUI
This route runs the generation locally. The software and model downloads are free; your computer supplies the processing. The supplied graph selects CUDA for its SAM2 masking stage, so this walkthrough follows that NVIDIA GPU configuration. We have not verified a minimum VRAM figure or AMD/Mac adaptation for this graph.
1. Install ComfyUI and open the workflow
Use Comfy's installation instructions for Windows, or its manual installation guide for other supported setups. Confirm that ComfyUI opens before downloading the large models.
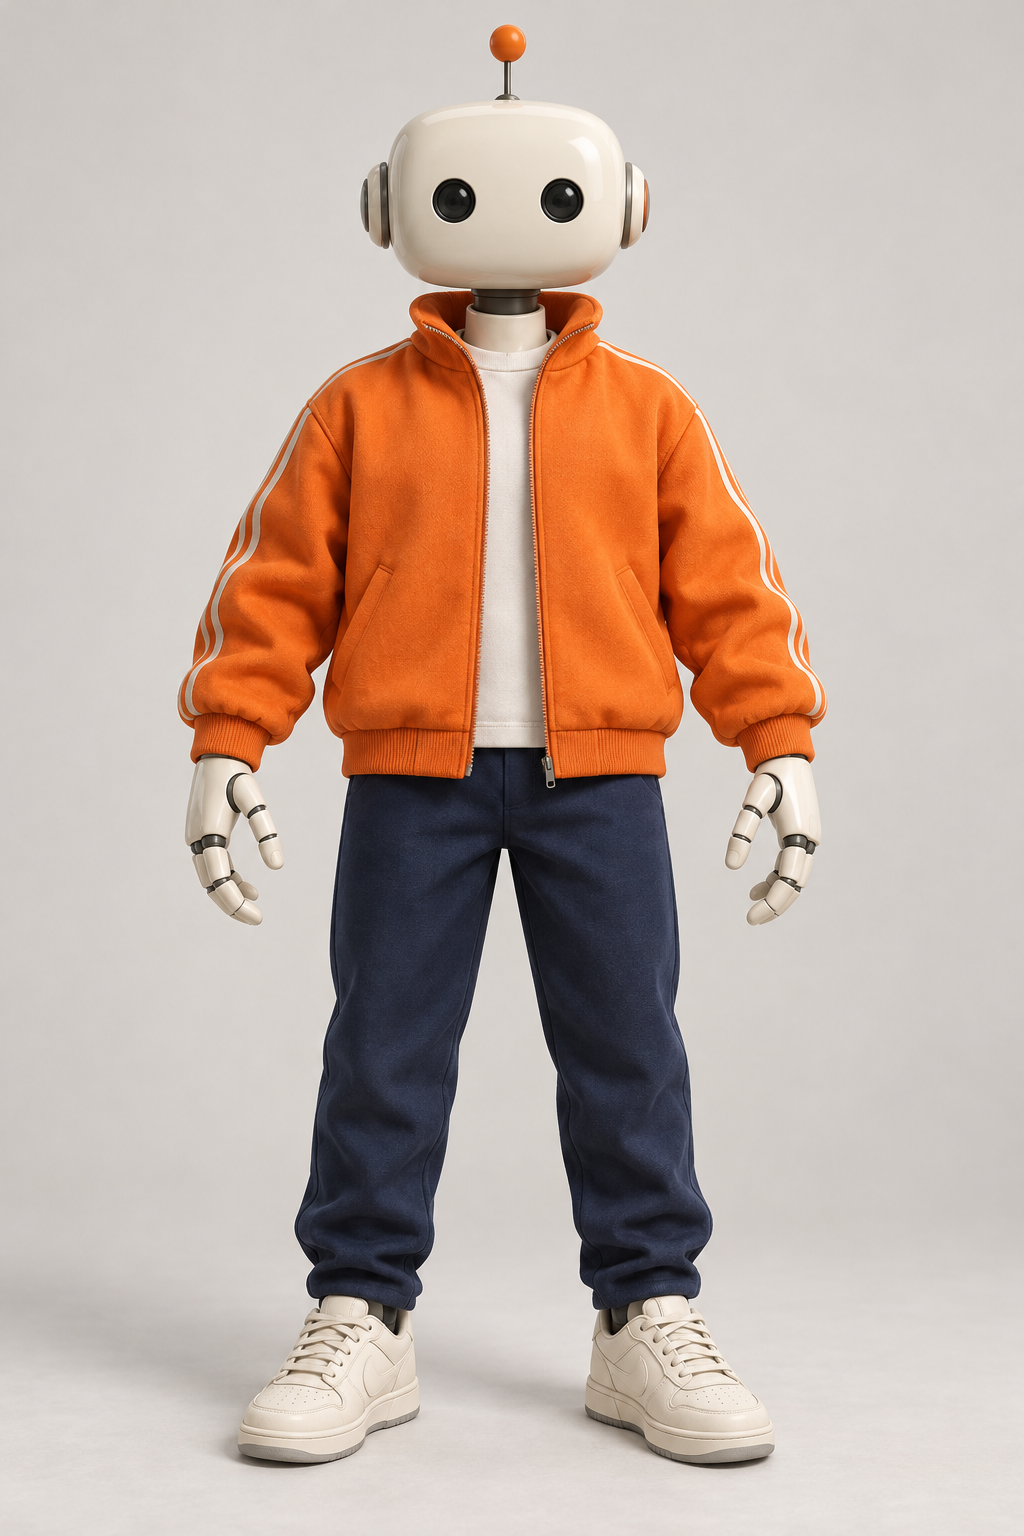
Download our 77-frame Mix starter JSON and the reference character. The starter removes the two extension branches and sets the width/height to 384 pixels; it is adapted from the official Wan2.2 Animate workflow snapshot. Drag the starter JSON onto the ComfyUI canvas. You can also search for Wan2.2 Animate in the template library. Update ComfyUI if the template or its core nodes are missing. Official workflow guide
2. Install all three custom-node packs
Use ComfyUI Manager's Install missing nodes, or follow each repository's installation instructions:
- ComfyUI-KJNodes: Points Editor and image utilities.
- comfyui_controlnet_aux: DWPose preprocessing.
- ComfyUI-segment-anything-2: SAM2 character masks.
Restart ComfyUI. The JSON includes SAM2 even though the documentation's short dependency list currently names only the first two packs.
3. Put the model files in the matching folders
This list matches the FP8 configuration selected in the official graph checked on 11 October 2026. Download the files from their linked source pages. The Animate model is a large download; it is different from Wan's 5B image-to-video model.
- Wan2_2-Animate-14B_fp8_e4m3fn_scaled_KJ.safetensors
Folder: ComfyUI/models/diffusion_models - umt5_xxl_fp8_e4m3fn_scaled.safetensors
Folder: ComfyUI/models/text_encoders - clip_vision_h.safetensors
Folder: ComfyUI/models/clip_vision - wan_2.1_vae.safetensors
Folder: ComfyUI/models/vae - lightx2v_I2V_14B_480p_cfg_step_distill_rank64_bf16.safetensors
Folder: ComfyUI/models/loras - WanAnimate_relight_lora_fp16.safetensors
Folder: ComfyUI/models/loras - sam2_hiera_base_plus.safetensors
Folder: ComfyUI/models/sam2
SAM2 can download its selected model automatically on first use. DWPose also needs yolox_l.onnx and dw-ll_ucoco_384_bs5.torchscript.pt. Its repository lists both checkpoints; allow its first-run downloads, or follow that pack's configuration for a preloaded installation. Local processing still needs internet access for setup unless you prepare those dependencies in advance.
Refresh the model list or restart ComfyUI. Check every loader's selected filename. Downloading the BF16 Animate alternative as well is unnecessary for this FP8 graph.
4. Load the clip, reference and mask
Use at least 4.8125 seconds of source footage. For this starter graph, export a matching copy at 16 fps (77 frames, 384 × 384 pixels) before uploading it: the output nodes use 16 fps and do not automatically adopt the source frame rate. Keep this same prepared copy for the transition edit. Upload your character into LoadImage and the prepared clip into LoadVideo. Keep the background_video and character_mask connections for Mix.
First save the prepared clip’s first frame as an image. With FFmpeg installed, run this in the clip’s folder (choose a new filename if it exists):
ffmpeg -n -i "prepared.mp4" -frames:v 1 "first-frame.png"Load that first-frame.png into Points Editor. Using the prepared clip keeps the image dimensions and framing aligned with the mask.
In Points Editor, right-click its canvas and choose Load Image to load the clip's first frame. Clear the old points with New canvas, then Shift-left-click inside the performer to add green selection points. Inspect the resulting SAM2 mask: it should follow the performer, not a nearby person or the background. Points Editor instructions in the workflow
The template also describes red exclusion points, but its SAM2 negative-point input is disconnected in the checked graph. Green selection points are the wired route. Using red points requires connecting the Points Editor negative output to SAM2's coordinates_negative input.
5. Generate a short first result
Set Width and Height to modest values divisible by 16; 384 × 384 is a cautious square starting example, not a hardware guarantee. The packaged starter has its extension branches removed. In the unmodified official graph, bypass the Video Extend groups for a short first test. The base output contains 77 frames at the graph's 16 fps, roughly 4.8 seconds. Check its timing against the source before editing.
Keep the supplied sampling settings for the first attempt. Replace the positive prompt with a short description of the movement, such as “The character is dancing in the room.” Run the workflow using Run or Ctrl/Cmd + Enter. Review the saved video under ComfyUI's output folder before trying more frames or a larger size.
For a longer clip, open the unmodified official graph rather than this starter. The official guide chains Video Extend groups using the previous group's batch_images and video_frame_offset outputs. The groups generate 77-frame chunks with continuation overlap trimmed before appending, so do not multiply the number of groups by 77 to predict final length. Inspect the actual exported frame count and timing. More frames increase the work and the opportunity for drift. Extension instructions, current node implementation
For Move, disconnect background_video and character_mask from the Video Sampling and output subgraph. This changes the task to motion transfer. Keep Mix for an original-scene replacement.
The character is dancing in the room
What paying changes
Try the free result first. Pay when a specific limit is stopping you: a watermark, processing capacity, upload length or the lack of a suitable local GPU. The method still starts with the same two inputs.
Paid Viggle: the same hosted workflow, with more capacity
With Monthly selected on 11 October 2026, Viggle lists Pro at $9.99/month, Live at $19.99 and Max at $79.99. Pro advertises 80 monthly credits, watermark-free exports and up to four concurrent generations. Prices are displayed in USD; check the billing period, currency, taxes and total at checkout. The cheaper yearly display is a different billing choice.
- Make a test using the free browser workflow and inspect the result before subscribing.
- Open Viggle pricing, select the billing period and compare the limitation you actually need to remove.
- If you choose a paid plan, use the same Mix upload → character image → generation → download sequence. Inspect the exported file and watermark state.
- Keep track of failed attempts and credit usage. The credit allowance is not a guaranteed number of finished videos; usage varies by tool/model.
Comfy Cloud: use a hosted version of the graph
The official ComfyUI guide includes a Run on Comfy Cloud option. Standard is listed at $20/month on monthly billing. This is a subscription price, not a measured cost for one successful character swap.
- Open the cloud option from the official guide and use your own account.
- Confirm that its current template, required models and custom nodes are available before committing to paid usage. Cloud releases can lag the documentation.
- Load your prepared clip and character image. Follow the same Mix selection and mask checks described in the local guide.
- Check the current cost/quota for the run, generate a short test and download the output. Review it before increasing the duration.
We have not run either hosted paid route or measured cost per usable clip. These links go directly to the providers; no affiliate tracking is attached to this guide.
Make the character change mid-video
Original video
Replacement video
Source audio
Treat the switch as an editing step. First generate the replacement for the same movement segment; then combine the original and generated clips.
- Put the original and replacement on aligned tracks in your video editor.
- Match their crop, dimensions and frame rate. Align a recognisable pose; generation may change timing, so check rather than assume frame-perfect correspondence.
- Choose the switch frame. Keep the original before it and the replacement after it.
- Try a straight cut first. A turn, hand crossing the body or other brief obstruction can hide the change.
- If a cut is too abrupt, try a short dissolve. Inspect for doubled faces or limbs during the overlap.
- Use one continuous copy of the original audio, if you have permission. Export and review the transition at normal speed and frame by frame.
This explains how to build a mid-motion switch; it is not a claim about the unseen creator's editing method.
Use a free editor, or the supplied local tool
Shotcut is a free editor for Windows, macOS and Linux. Add both clips, align their movement and cut on the chosen frame. Keep the source audio continuous.
If the clips already align, the pack’s optional Python utility can prepare the input and make a straight switch. It requires Python, FFmpeg and FFprobe on your computer. Run these commands from the extracted pack:
python video_tools.py prepare "original.mp4" --output "prepared.mp4"
python video_tools.py switch "prepared.mp4" "replacement.mp4" --at 2 --output "finished.mp4"
The first command creates a 77-frame, 16 fps input with padding instead of cropping. The second keeps the original up to two seconds, then uses the matching later replacement frames and the original audio if present. Change --at 2 to your chosen time. Existing outputs are preserved; choose a new filename for another attempt.
The tool trims to the shorter clip and does not correct timing drift. Inspect the cut manually. Its frame switching, audio retention and overwrite protection were checked with synthetic clips; that check does not validate AI generation.
Fix common problems
- Red or missing nodes
- Update ComfyUI, install all three node packs and inspect startup errors. A pack can be installed while some of its nodes fail to import.
- Model missing from a dropdown
- Check the exact filename and folder. CLIP Vision uses
clip_vision, singular. Refresh or restart. - DWPose/SAM2 download error
- Check connectivity and the selected checkpoint. These preprocessors need their own model assets.
- Wrong person replaced
- Reload the first frame, clear old points and select the intended performer. Inspect the mask throughout the clip.
- Out-of-memory error
- Reduce dimensions, shorten the attempt and bypass extensions. If it still fails, use the browser route; opening ComfyUI alone does not establish that Animate 14B fits.
- Scene replaced instead of preserved
- Check Mix's background and mask connections. Disconnecting them selects Move.
- Warped limbs or identity drift
- Try a clearer reference and a simpler, shorter source clip. Check the pose and mask previews before rerunning.
- Visible jump at the switch
- Realign the clips using the same pose, match their crop and try another cut frame.
Download the starter pack
The graph, reference and edit tool
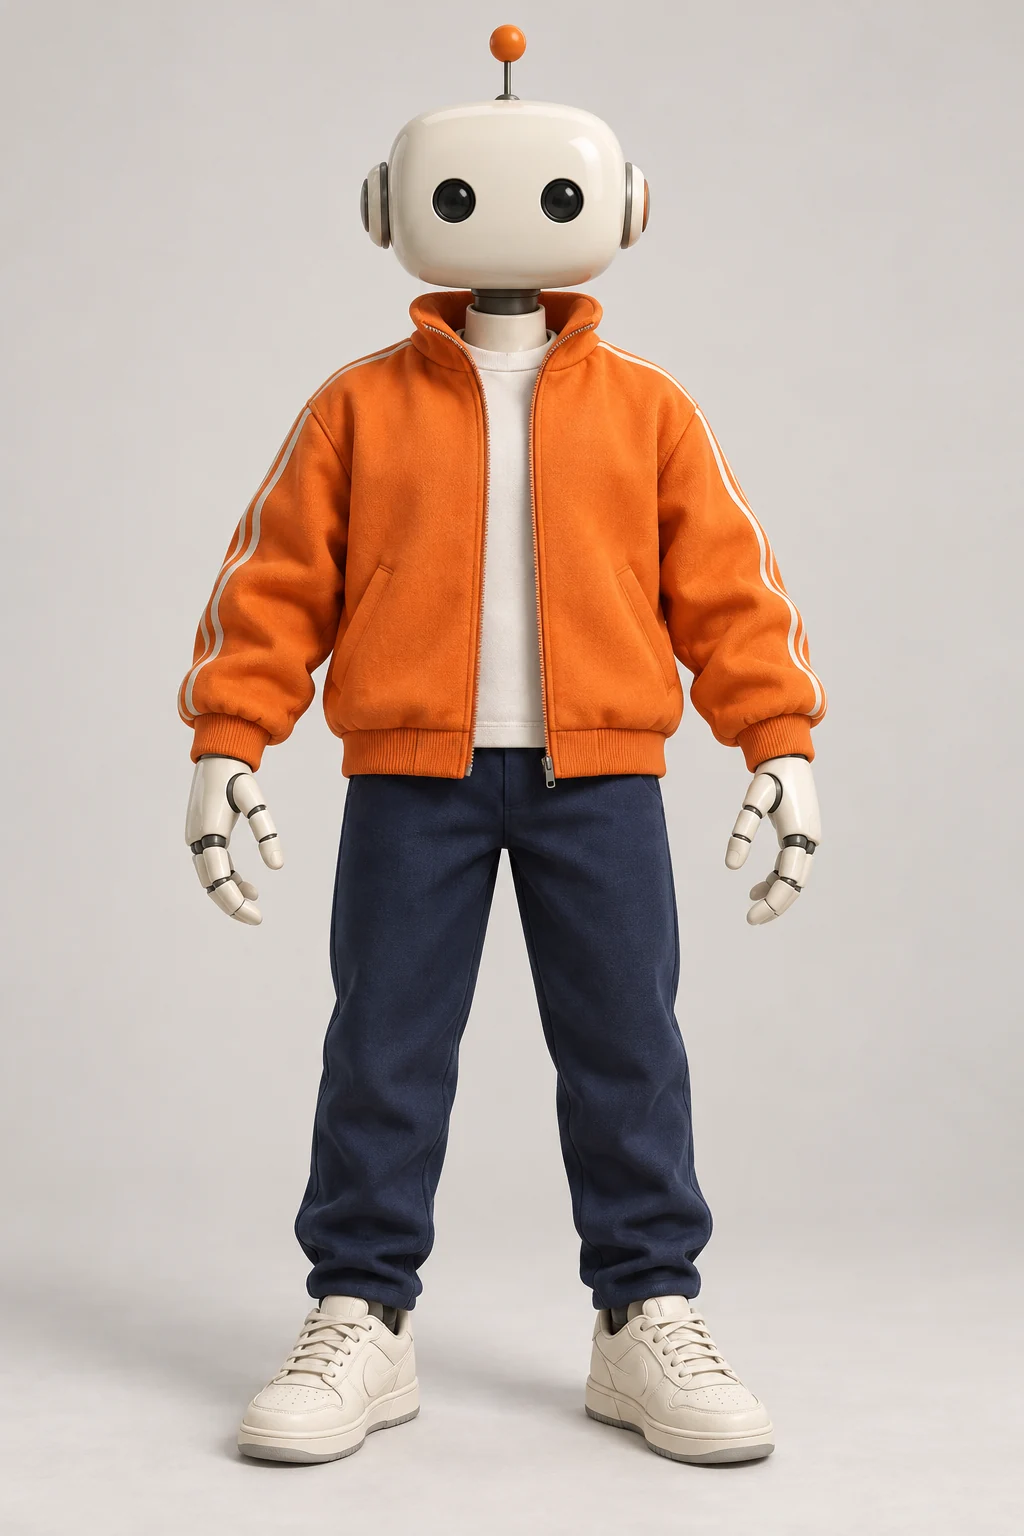
A single ZIP includes the short Mix starter, unmodified official graph, robot reference image, setup README, optional video utility, model-link manifest and upstream licence.
No model weights or performance footage are included. Graph structure checked; the starter has not been executed through a full generation. Model setup is required before Run will work.
Files, credits and permissions
The graph comes from Comfy Org's MIT-licensed template repository. Wan's official model repository identifies its Apache 2.0 licence. These licences concern the software/model; they do not clear somebody else's character, footage, music or likeness for reuse. Individual supporting checkpoints retain their own source licences.
This guide links to the original tools and model files. It does not include model weights, promise a particular render time or present an illustration as a generated result. Downloaded third-party graphs and nodes should retain their source and licence information.
What has been checked
Official instructions, the actual graph dependencies, the packaged graph’s connections, file downloads and the editing utility. This is a documentation-based tutorial. Render quality, minimum GPU memory, render speed, signed-in hosted controls and cost per successful generation remain unbenchmarked. The original Reddit video’s tool and editing method are unverified.